Key takeaways for deciding whether to use LINE
- Cross‑platform messaging: free messaging and voice/video calls across iOS, Android, and desktop.
- Platform availability and setup: guidance for iPhone, Android devices, Windows/macOS desktops, plus optional web access where offered.
- Free basics with paid extras: basic messaging is free; stickers, themes, and LINE Pay may incur costs or have usage limits.
- Privacy and security: overview of data handling and how to enable stronger protections, including end‑to‑end encryption where available.
- Practical usage guidance: setup flow, common use cases, and a quick comparison with other messaging apps to help you decide.
Download options and platform setup
Download LINE for iOS (iPhone/iPad)
Want LINE on your iPhone or iPad in minutes? This straight-to-the-point guide shows you exactly how to install, sign in, and secure your chats—without the fluff.
Steps to locate and install LINE from the App Store — Your fast path to a ready-to-chat device:
1) Open the App Store on your iPhone or iPad, tap Search, type LINE, and select the official LINE app by LINE Corporation.
2) Tap GET (or the cloud icon if you’ve downloaded LINE before) and authenticate with your Apple ID, Face ID, or Touch ID. The download starts and the progress bar shows remaining time.
3) When installation finishes, tap OPEN to launch LINE. Follow the short setup to customize your profile and start chatting in minutes.
Sign-in options and initial permissions — how you enter LINE and what you’ll be asked to grant:
When you first open LINE, pick how to sign in: use your phone number to verify your account or sign in with an existing LINE account. If you choose the phone option, LINE will send an SMS verification code to confirm ownership. If you have a LINE account, enter your credentials and you can link your number later if you want.
During setup, LINE will request a few permissions to work smoothly on iOS. Expect access to Contacts, Photos (to share media in chats), Camera, Microphone (for video calls and voice messages), and Notifications. You can grant them now or adjust later in More > Settings > Privacy or iOS Settings > LINE.
Tips to secure your LINE account — PIN, biometrics, and backups that don’t slow you down:
First, lock LINE with a PIN or biometric lock. In LINE, go to More > Settings > Privacy (or Security) and enable Passcode or Biometric Lock (Face ID / Touch ID). This protects your chats if your device is briefly unlocked.
Next, set up chat backups so you don’t lose conversations when you switch devices. Go to More > Settings > Chats > Chat backup. Turn on Auto-backup to iCloud and pick a frequency. Note: iCloud backups restore chats on a new device, and you should keep your iCloud account protected with a strong password and two-factor authentication.
For extra safety, enable Two-factor authentication for your LINE account. It adds another verification step when signing in from new devices or after password changes, making unauthorized access much harder.
With these steps, LINE will be installed, signed in, and secured on your iPhone or iPad—ready to text, call, and share moments with ease and a touch of style.
Download LINE for Android
Get LINE for Android in minutes—fast, direct messaging, voice and video calls, and a touch of personality in your everyday chats. This practical guide walks you through installation from Google Play or your home screen, with clear safety and privacy tips along the way.
Steps to locate and install LINE from Google Play
- On your Android device, open the Google Play Store.
- Use the search bar to type LINE and tap the LINE app in the results.
- Tap Install, then wait for the download to finish.
- Once installed, tap Open to launch LINE and begin the setup.
- If you’re not using Google Play, you can still install from your device’s home screen after download, or opt for a sideloaded APK from LINE’s official site—see APK safety notes below.
Tip: After installation, you’ll typically see the LINE icon on your home screen for quick access. For a one-line path: Google Play > LINE > Install. If you sideload an APK, download only from LINE’s official site and proceed with caution.
APK safety considerations: Sideloading (installing apps from sources other than Google Play) can expose you to risks. Always use the official LINE site, verify the APK’s source, and compare checksums if available. On many devices, you may need to enable Settings > Apps & notifications > Special app access > Install unknown apps and select the browser or file manager you’ll use to open the APK. Keep your device’s security software up to date and proceed only if you trust the source.
Phone number verification and account creation
When you first open LINE, you’ll be guided through a quick setup to verify your identity and create your account. Enter your phone number, then tap to receive an SMS verification code. Type the code into LINE to confirm your number. After verification, set up your display name and, if you’d like, a profile photo so friends can recognize you at a glance. You may be prompted to connect your contacts to find friends who are already on LINE; you can skip this if you value privacy. For extra security, enable a passcode or biometric lock for the LINE app, and explore any two-factor authentication options available in your region.
Recommended privacy settings after installation
Go to Settings > Privacy to tailor who can reach you and what information is visible. Disable or limit find by phone and find by LINE ID to reduce exposure to strangers. Enable App Lock with a PIN or biometrics to protect access if your device is shared or lost. Review who can contact you and who can see your profile or timeline—set these to Friends or Only Me for tighter control. Regularly audit app permissions (camera, microphone, location) under Settings > Apps > LINE > Permissions to ensure you’re not sharing more than you intend. Maintain a clean block list and use Block or Report for anything that feels spammy or risky.
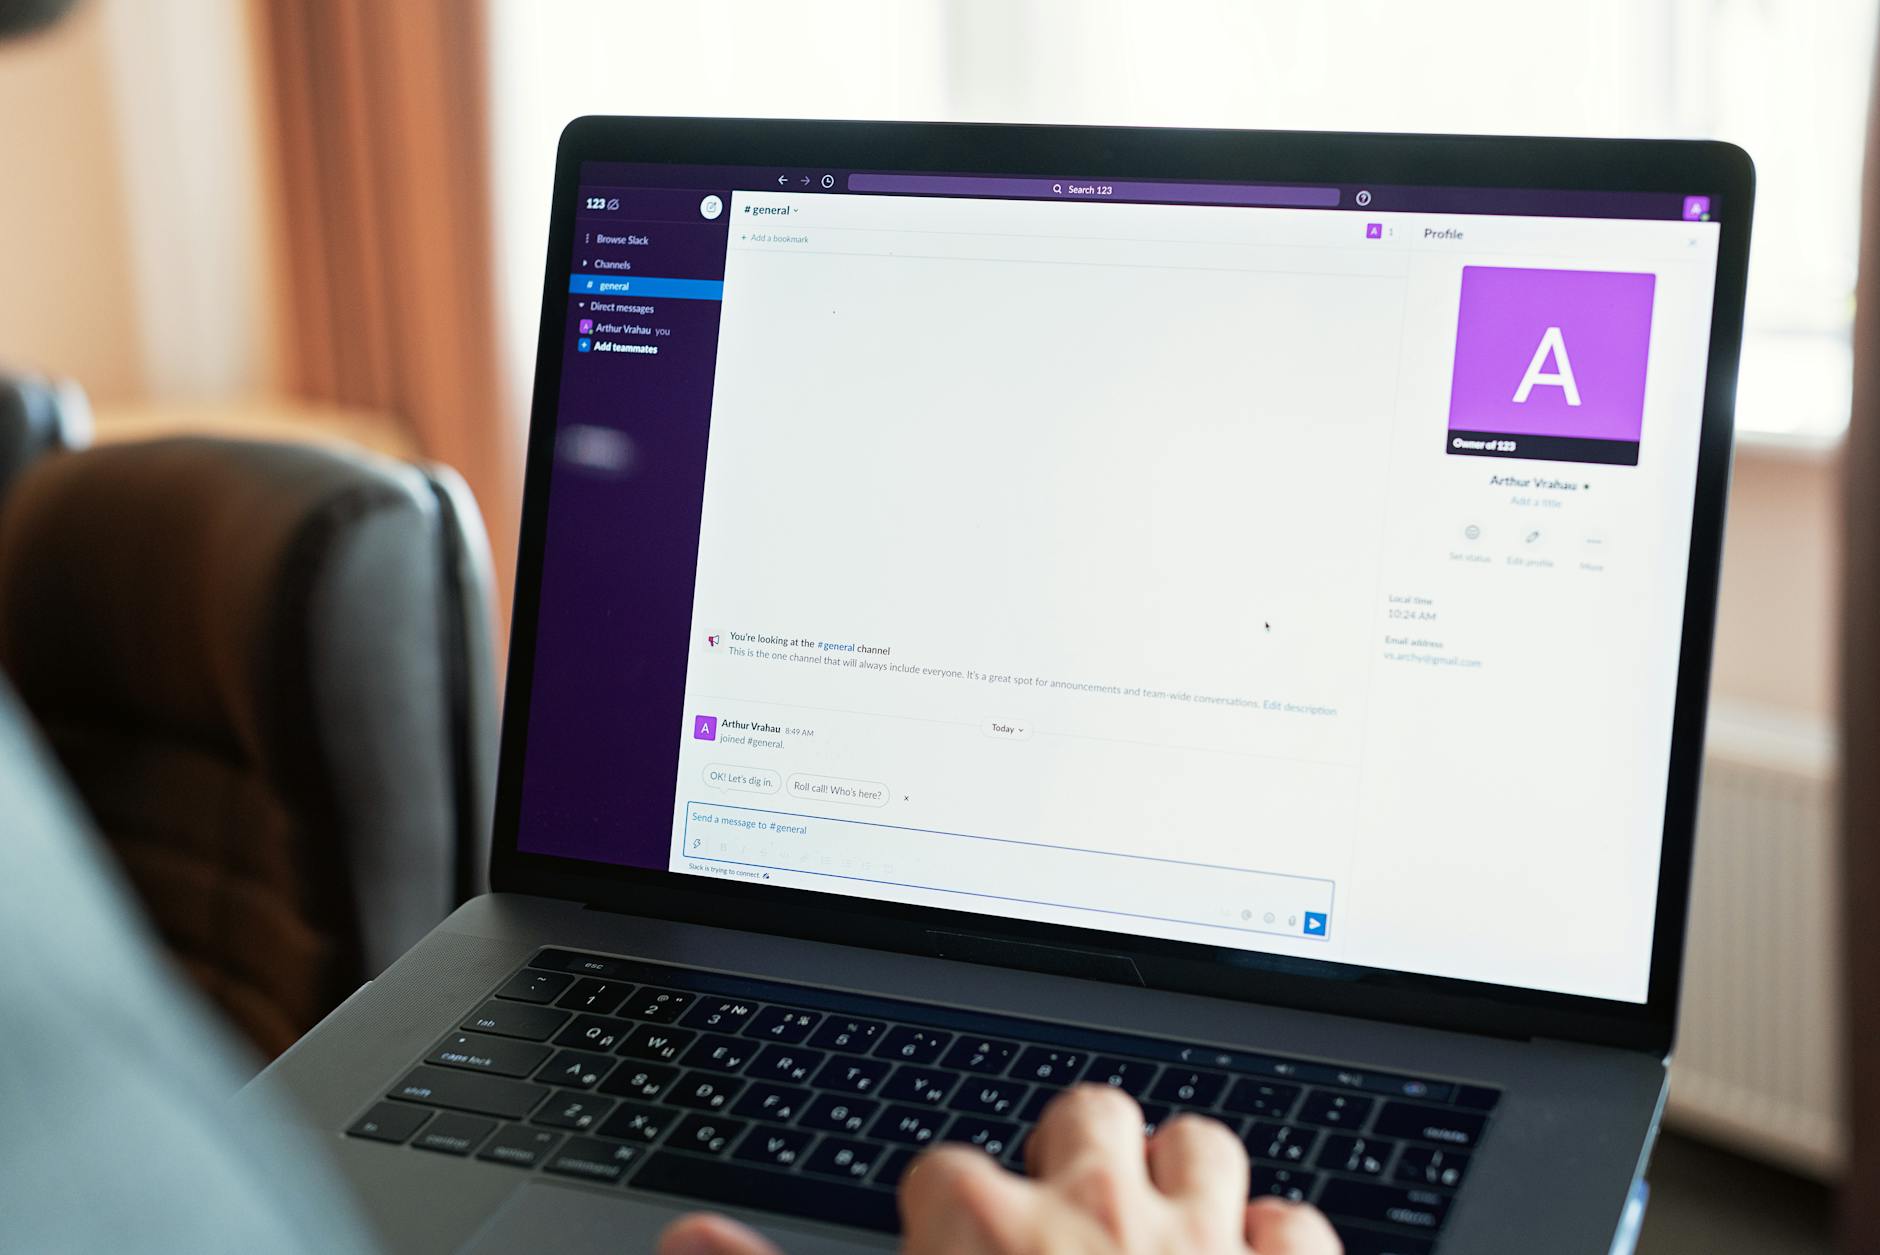
Download LINE for Desktop (Windows/macOS)
Bring LINE to your computer in one step. Use the same LINE account you have on your phone, and see your chats on a bigger screen. Type faster, drag and drop files, and stay in the flow without juggling devices. Here’s how to install, pair with your mobile LINE for seamless syncing, and what to expect on Windows and macOS.
How to download the LINE desktop app, system requirements, and installation steps
System requirements:
- Windows 10 or later OR macOS 10.12 (Sierra) or later
- At least 2 GB of RAM (4 GB recommended for smoother multitasking)
- About 100 MB of free disk space for the installer, plus room for chats and media
- Stable internet connection for initial setup and ongoing syncing
What to download: head to the official LINE download page and pick the correct installer for your OS. For quick access, you can grab it from LINE for Windows & macOS.
- Download the installer for your platform (Windows or macOS).
- Run the installer and follow the on-screen prompts. On macOS, you may need to allow installation from “identified developers” and grant notifications or accessibility permissions.
- Open
LINE for Desktopafter installation. A QR code will appear to link your mobile LINE.
Initial sign-in tip: you don’t enter a password on the desktop. Instead, you scan a QR code from the LINE mobile app to link your account.
How to link the desktop app with your mobile LINE for syncing messages
To keep your messages in sync across devices, pair the desktop app with your mobile LINE:
- Open LINE on your mobile device.
- In the mobile app, go to More (the three-dot menu) or Settings, then choose LINE for PC or Link a device.
- Tap QR Code to scan the code shown on the desktop app.
- On the desktop, use your mobile to scan the QR code. When the scan succeeds, your LINE data starts syncing to the desktop app.
Tip: If you ever need to re-link, you can sign out on the desktop or re-scan the code to re-pair.
Usage notes and platform-specific limitations
As you start using LINE on desktop, keep these practical notes in mind:
- Sync and availability: Desktop messages are tied to your LINE account. New messages appear as long as your phone and desktop are connected to the internet, but if your phone is offline for an extended period, desktop delivery may be delayed.
- Feature differences: The desktop app covers most chat features, but some mobile-only capabilities (certain stickers, camera effects, payments) may be limited or require the mobile app to complete actions.
- Notifications: Enable desktop notifications for real-time alerts. You can adjust notification settings in Windows, macOS, and within the LINE app itself.
- Platform quirks: On macOS, you may need to grant permissions for notifications, accessibility, and camera access when prompted. On Windows, ensure the app has the privileges it needs if prompted by security software.
- Performance tips: If you have many chats or large media, consider archiving inactive conversations to keep the desktop app responsive. Keep LINE updated to the latest version for best compatibility.
- Limitations: Some network environments (firewalls or proxies) can interfere with syncing. If you disconnect, you’ll need to re-link by scanning the QR code again with your mobile device.
Account creation and verification
Jump in with LINE in minutes. Sign up with your phone number or choose a LINE ID, verify quickly, and you’ll be ready to chat, send stickers, and share Moments.
Creating a LINE account: phone number or LINE ID
LINE offers two straightforward paths to start:
- Sign up with your phone number: This is the most common route. Enter your phone number, receive a verification code by SMS, and use that code to verify your identity. After verification, set your display name and profile picture, and you’re ready to go. A typical flow looks like:
Enter phone → Receive SMS code → Enter code → Set display name → Add a profile picture. - Sign up with a LINE ID (if available in your region): Start by choosing a LINE ID you want to use, then verify through prompts in the app. This is handy if you’re migrating from another LINE account or prefer a chosen handle from the start. The flow usually involves entering your LINE ID, setting a password or confirming a login method, and completing verification to secure the account.
Whichever path you pick, you’ll eventually personalize your profile and agree to the terms. Pro tip: pick a recognizable display name and a friendly avatar so friends can find you easily once you’re online.
Verification steps, recovery options, and linking with contact lists
Verification is the security gateway that keeps your conversations private. Here’s what to expect and how to plan for recovery and connectivity:
- Verification steps: After you start, you’ll typically receive a
verification codevia SMS (for phone sign-up) or complete a similar in-app flow. Enter the code when prompted to activate your account fully. - Recovery options: Set up options to recover access if you forget your credentials. This often includes linking an email address or adding a backup verification method. If offered, enable two-step verification (2SV) for an extra layer of protection beyond just your password or code.
- Linking with contact lists: During setup or later, you can grant LINE permission to access your phone’s contacts. This helps you discover friends who are already on LINE and makes it easier to start conversations. You can adjust these permissions anytime in your device settings or the app’s privacy controls.
In practice, most users complete verification in a few taps, then sync contacts and tailor privacy settings. A little upfront setup pays off with smoother chats, safer logins, and easier friend finding later.
Best practices for keeping your account secure
Security isn’t optional—it’s the foundation of your LINE experience. Here are practical steps to keep your account safe while you explore the features LINE offers:
- Use a strong, unique password for your LINE account and don’t reuse passwords across services. Consider a passphrase or a password manager to stay secure and practical.
- Enable two-factor verification (2SV) where available. This adds a second check—often via a code or authenticator app—so even if someone knows your password, they can’t log in.
- Keep your recovery options up to date: Regularly review and refresh your backup email or phone number so you can regain access easily if needed.
- Be cautious with codes: Never share verification codes or 2SV codes with anyone. If you receive an unexpected prompt, verify it’s from LINE and not a phishing attempt.
- Monitor linked devices and sessions: Periodically review which devices are logged in and sign out from anything you don’t recognize, especially on public or shared devices.
- Review app permissions: Limit permissions to only what’s necessary (e.g., contacts for friend discovery), but be mindful of broader data access.
- Keep the app updated: Updates often include security patches and new safety features that protect you from emerging threats.
By following these practices, you’ll enjoy a faster, more private LINE experience—ready to ride the trends without compromising security.
Initial permissions and privacy settings
Common permissions requested on install
- Contacts — helps the app find friends, import addresses, or enable invites. If you’re not planning to socialize through the app, consider denying or limiting access and enabling only when needed.
- Microphone — used for voice calls, voice notes, or audio features. If you seldom use voice features, keep it off until you need it.
- Camera — enables photos, video capture, or AR features. Turn off if you never take photos within the app.
How to adjust privacy controls
Privacy controls live in two places: within the app itself and at the device level. Inside the app, you’ll typically find settings labeled Privacy, Security, or Permissions. On your device, you can govern how apps access sensitive data through Settings > Privacy (iOS) or Settings > Privacy / Apps (Android).
- Who can contact you: Many apps let you choose who can message, follow, or tag you. Set it to friends, followers, or a restricted group, or switch to private mode if available.
- Profile visibility: Decide whether your profile is public, private, or visible only to approved connections. Tighten exposure if you value privacy.
- Block and report: If you encounter abuse or spam, use the built-in Block and Report features. Review your blocked list periodically.
Quick tips: use inline controls like Settings > Privacy to audit permissions across all installed apps, and remove access you don’t actively use. Your device often offers a per-app permission switch, so you can revoke access later without uninstalling.
How to review data retention and export options
Most services include a privacy or data-management hub where you can see how long data is kept and how to download a copy of your information. Look for terms like Data & Privacy, Takeout, or Export your data.
- Data retention: Check how long data is stored, and whether you can configure retention periods for messages, history, location, or activity. Some services let you set shorter retention windows.
- Export your data: Use the data export tool to download a copy of your data for offline review or migration. This often creates a file (e.g., JSON/CSV) or a downloadable bundle.
- Deleting data or accounts: If you’re uncomfortable with data you’ve accumulated, you can delete specific items, or in some cases, close the account. Be mindful of what is retained by the service post-deletion.
Pro move: periodically run through Data & Privacy checks to understand what’s stored, what you can export, and how long it will stay there. It’s part of staying in control of your digital footprint.
Pricing, limits, and terms beyond ‘FREE’ messaging and calls
What’s free and what costs (stickers, themes, and services)
Free core features first: LINE’s essential messaging and calls don’t cost a thing. Text chats, one‑to‑one calls, and group conversations stay free as long as you’re connected via data or Wi‑Fi.
To personalize your experience, premium options exist. Premium stickers, themes, and certain add‑ons can be one‑time purchases or subscriptions. They unlock animated reactions, richer visuals, or more flexible chat layouts—perfect if you love customizing your vibe or boosting productivity.
When you dip into LINE Pay or business tools, fees or merchant terms may apply. Payments, wallet top‑ups, or money transfers can involve transaction fees, and business accounts (like LINE Official Accounts) often have pricing tiers you’ll want to review before you commit.
In short: core messaging and calling are free for most users, and paid stickers, themes, or services are optional enhancements if you want to level up.
Data usage, storage limits, and message history
Data usage, storage limits, and message history
Take control of your chats: know how long messages stay, how backups protect you, and how cross-device syncing keeps threads consistent—whatever device you’re on.
Details on message retention, backup options, and cross‑device synchronization
- Message retention: Apps often auto‑expire or archive messages after a set period. You can usually adjust retention to keep chats longer or shorter. Look for options like “Retention settings” or “Keep messages for” in your privacy or chats menu.
- Backup options: Backups act as a safety net. Back up locally on your device or to the cloud so you can restore conversations when you switch phones or reinstall the app. Some platforms offer automatic backups; others let you trigger a manual export. For sensitive chats, enable encrypted backups and choose a strong password.
- Cross-device synchronization: Sign into the same account on all devices and enable chat synchronization to stay in sync. This keeps messages available where you’re active and reduces the chances of missing threads when you switch devices. Note that encryption and sync timing can vary by platform, so expect a brief delay for newly sent media.
How to manage storage and large media in chats
Managing data helps keep your interface responsive and your most important moments accessible.
- Control auto‑download and media quality: In mobile settings, you can usually disable automatic media downloads or restrict them to Wi‑Fi only. This prevents large video clips from unexpectedly filling up your storage during busy times.
- Review and prune large attachments: Use storage tools to identify the heaviest media (videos, high‑resolution images). Delete what’s no longer essential, or export it to cloud storage before removing from the chat.
- Archive or offload older conversations: If older chats are valuable but not active, archive them or move media to external storage. This keeps your active chat list snappy while preserving history for posterity.
- Prefer lightweight formats when possible: For long threads with media, share links or compressed previews instead of full‑resolution files, especially in high‑traffic conversations.
Tips to export chat history if needed
Sometimes you’ll want a portable record of a conversation—for legal, research, or nostalgia reasons. Exporting chat history gives you a clean copy with context intact.
- Use the built‑in Export feature: Look for an option like “Export chat” in the chat’s menu. You can usually choose whether to include media and select the export format (TXT, HTML, JSON, or ZIP).
- Choose the destination: Export to a file on your device, email, or a cloud drive. For large exports, break the history into segments to avoid size limits.
- Consider media handling: If you don’t need media, export without media to keep file sizes small. If you do need media, plan for larger files and secure storage.
- Security and privacy: Exported data can be sensitive. Use password protection for ZIP archives when supported, and store exports in encrypted locations or trusted devices.
- Practical tips: For very long chats, export in chunks (for example, month by month) to keep each file manageable, and label files clearly (e.g., “ChatName_2024-06-ChatExport”).
- Code snippets (optional): If your app provides an API, you might see code like the following to export history:
exportChatHistory(chatId, { includeMedia: true, format: "ZIP" })— use the app’s exact syntax if available.exportChatHistory(chatId, { includeMedia: false, format: "TXT" })— or export without media to keep file sizes small; follow on‑screen prompts if code isn’t available.
Terms of service and privacy policy basics
Know what you’re signing up for—without the legal mumbo jumbo. This guide breaks down LINE’s terms, your responsibilities, how data is handled, and how privacy rules differ by region.
Overview: LINE’s terms, user duties, and data handling
LINE’s Terms of Service set the ground rules for using the app—how accounts are created and secured, what counts as acceptable use, and LINE’s liability limits. They also spell out user duties—keep your credentials confidential, avoid misuse, and treat others with respect—and describe how LINE collects and uses data to run and improve the service. The data handling section explains what data is collected (account details, device data, usage metrics, and communications metadata), how it’s stored, who it may be shared with, and the security measures in place. Inline references like data categories and sharing practices illustrate the kinds of information involved in everyday use.
Privacy, data access, and user rights
LINE puts privacy front and center, showing how you can view and control your information. You have rights to access your data, request corrections, delete data, or deactivate your account. Usually, you do this through in-app privacy settings or by contacting LINE support; the policy explains timelines and any exceptions. The section also covers data retention, how data supports service functionality and safety, and how you can opt out of certain processing—like personalized advertising where it’s offered.
Regional differences and compliance with local laws
Privacy rules vary by country, so LINE maintains regional versions of its terms and notices. Updates reflect local laws such as the EU’s GDPR, California’s CCPA, and other regulations, as well as data localization or cross-border transfer rules. Depending on where you live, you may see different controls, retention periods, or rights. Review the version for your region and tailor your privacy settings accordingly.
Feature breakdown and use cases
| Feature Area | Key Elements | Use Cases / Implications |
|---|---|---|
| Core features | Free one-to-one and group messaging, voice and video calls, stickers, and LINE Official Accounts for business interactions. | Supports private communication and enables businesses to engage customers via LINE Official Accounts. |
| Cross-platform continuity | Messages and contacts sync across mobile and desktop environments. | Provides a seamless, consistent experience for users switching devices and working across platforms. |
| Business use cases | Customer service, marketing, and official brand accounts via LINE Official Accounts. | Direct customer support, targeted promotions, and brand presence through official LINE accounts. |
Pros and cons of LINE
Pros
- Broad platform support
- Rich sticker ecosystem
- Official accounts for business
- Robust privacy controls
Cons
- Popularity varies by region
- Some advanced features require additional setup
- Data-policy complexity may affect privacy considerations
Leave a Reply