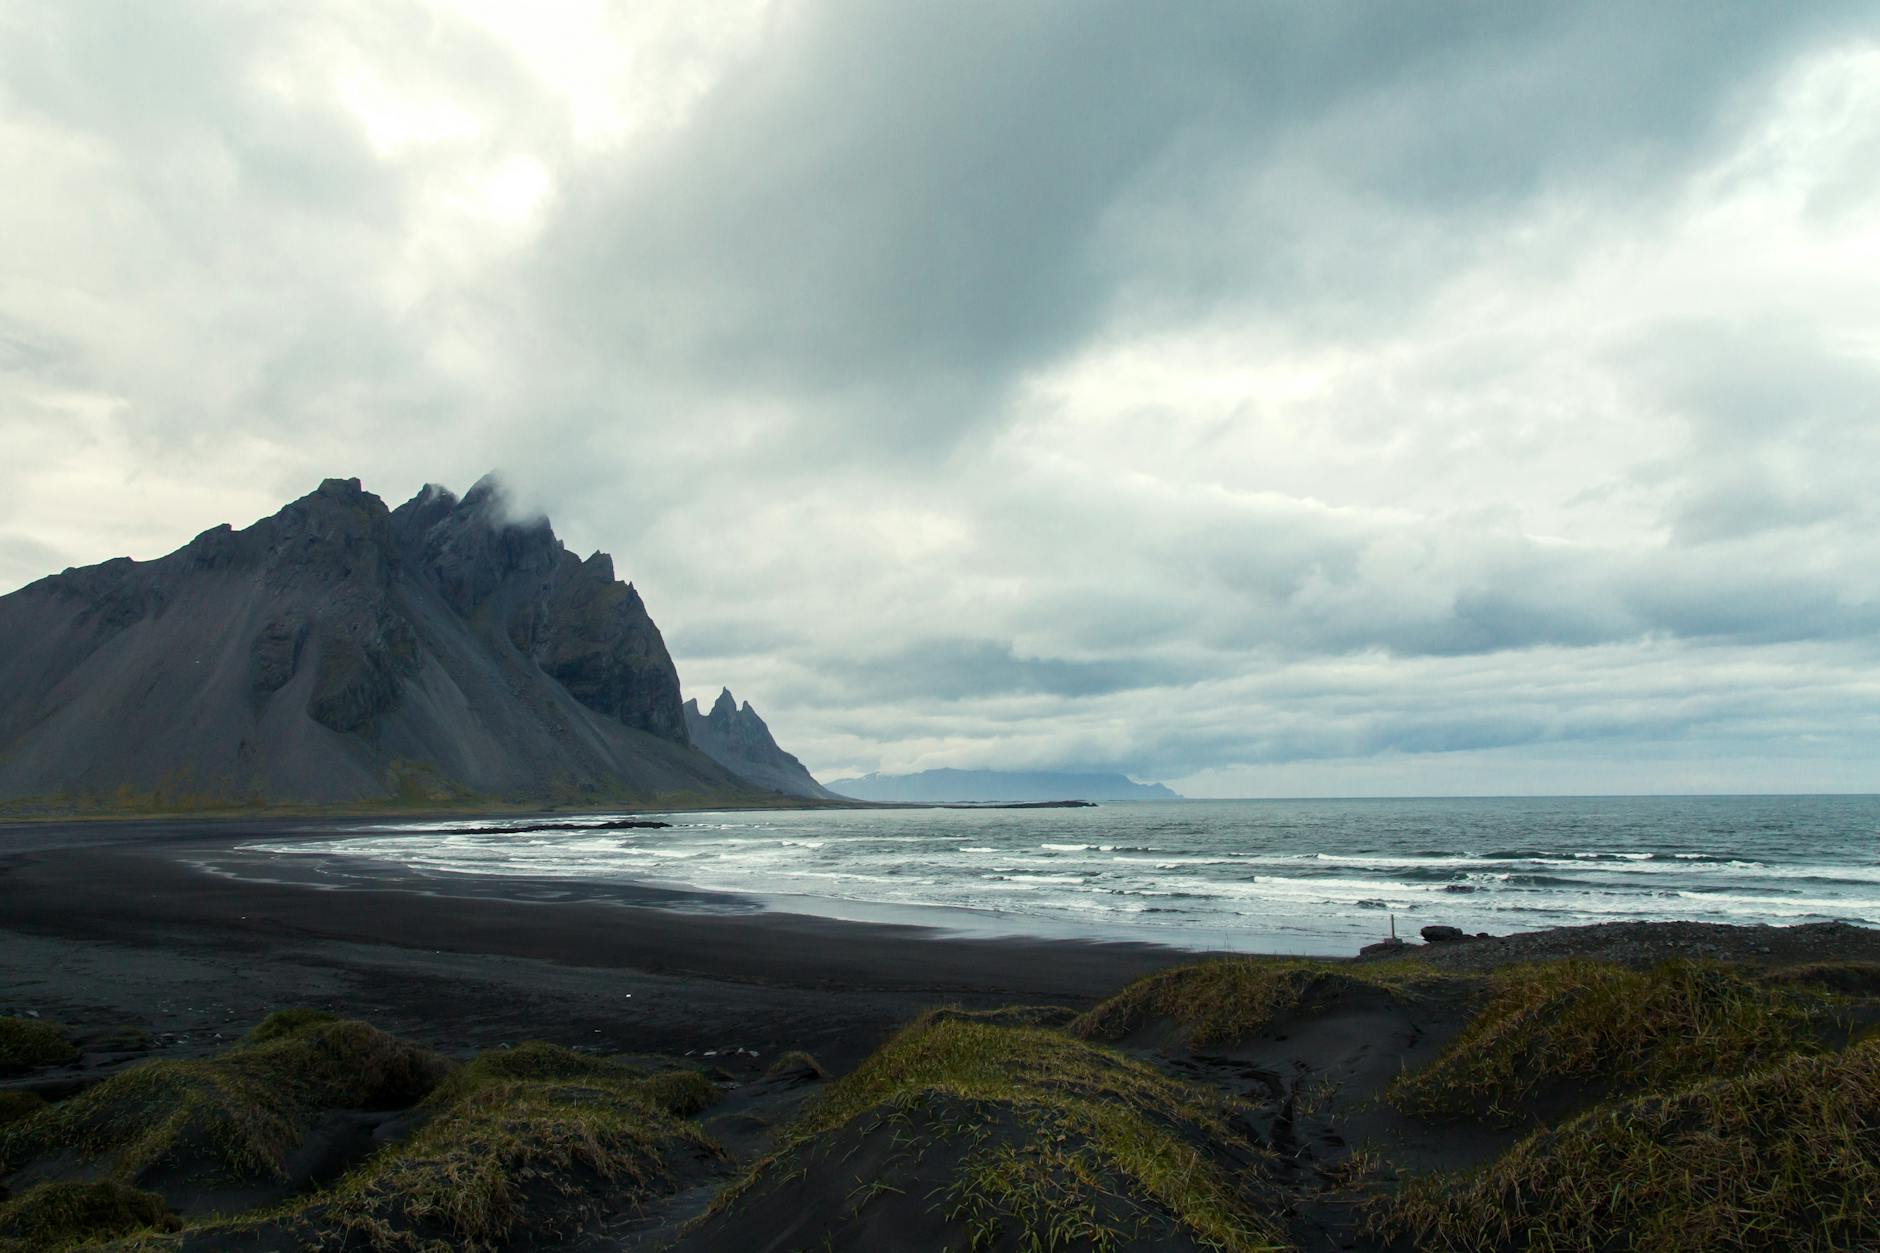
Exploring the Minecraft Great Sea: A Practical Guide to Routes, Loot, Landmarks, and Survival
Navigating the vast expanse of the minecraft Great Sea can be a daunting yet rewarding experience. Unlike standard ocean exploration, the Great Sea offers unique challenges and opportunities, from treacherous weather patterns to hidden treasures. This guide aims to equip you with the knowledge to traverse its waters effectively, detailing key routes, valuable loot, essential landmarks, and crucial survival tactics. We’ll also highlight common weaknesses found in other guides, offering a more data-rich and implementable framework for your adventures.
Why This Guide is Different
Many existing guides suffer from outdated information, vague route descriptions, and a lack of concrete data. This article addresses these gaps by providing:
- Exact coordinates for verifiable route mapping.
- Eight fixed landmarks with coordinates and mapped loot expectations.
- Detailed loot breakdowns per location, including chest counts, item types (iron, gold, emeralds, maps, enchantments), and rarity notes.
- Specific survival tactics covering loadouts, weather handling, inventory management, and boat maintenance.
This approach offers a data-rich, implementable framework designed to minimize guesswork and maximize your exploration success.
Key Routes and Navigation
In the explorer economy of minecraft, routes are more than just lines on a map—they are narrative arcs that blend practical navigation with shareable points of interest. To aid your journey, we recommend using a color-coded map overlay and placing banners at each waypoint to confirm progress at a glance. Sailing with daylight and a reliable weather forecast is crucial for minimizing storm risk.
Primary Routes
Route A: Grand Reef Port (0, 0) → Harbor of Winds (256, -512) → Coral Crest Island (512, -896)
This path follows a steady east-southeast bearing with three explicit midpoints to verify progress.
- Milestone 1: Harbor of Winds (256, -512)
- Milestone 2: Sunken Ring (256, -256)
- Milestone 3: Coral Crest Island (512, -896)
Route B: Coral Crest Island (512, -896) → Blue Needle Archipelago (1024, -1024) → Storm Spire (2048, -1400)
A longer corridor that favors wind-assisted traversal and frequent landmark checks.
- Milestone 1: Blue Needle Archipelago (1024, -1024)
- Milestone 2: Storm Spire (2048, -1400)
Route C: Emerald Atoll Terminal (1536, -256) → Sea Gate Reef (768, -1280) → Grand Reef Port (0, 0)
A loop designed for returning to a safe harbor while scouting multiple loot-rich zones.
- Milestone 1: Sea Gate Reef (768, -1280)
- Milestone 2: Grand Reef Port (0, 0)
Waypoint List
| Waypoint | Coordinates |
|---|---|
| Grand Reef Port | (0, 0) |
| Harbor of Winds | (256, -512) |
| Coral Crest Island | (512, -896) |
| Sunken Ring | (256, -256) |
| Blue Needle Archipelago | (1024, -1024) |
| Emerald Atoll Terminal | (1536, -256) |
| Storm Spire | (2048, -1400) |
| Sea Gate Reef | (768, -1280) |
Navigation Notes
- Use a color-coded map overlay to differentiate routes and hazards.
- Place banners at each waypoint for quick visual confirmation during travel.
- Sail during daylight and check the latest weather forecast to reduce storm risk.
Navigation Tools and Tactics
Navigate with confidence using a Great Sea Map v1.3, annotated with coordinates and color-coded routes. This setup, combined with the right gear, markers, weather awareness, and loot discipline, transforms aimless wandering into a steady, trackable voyage.
| Coordinate | Location | Color-coded Route | Notes |
|---|---|---|---|
| H-01 | Harbor of Winds | Green route to C-02 Coral Crest Island | Starting point; use as a calm entry line. |
| C-02 | Coral Crest Island | Blue route to B-03 Blue Needle Archipelago | Coastal waypoint for a steady break from open water. |
| B-03 | Blue Needle Archipelago | Cyan route to S-04 Storm Spire | Mid-sea network of reefs; watch for currents. |
| S-04 | Storm Spire | Red route to H-01 Harbor of Winds | Storms central hub; use for quick reroute. |
| W-05 | Western Shoals | Green route to E-06 Ember Reef | Alternate calm harbor on lighter seas. |
| E-06 | Ember Reef | Blue route to N-07 Northstar Cay | Reef fires and shifting winds; adjust sails. |
| N-07 | Northstar Cay | Cyan route to T-08 Twilight Channel | Night navigation point; ideal for evening progress. |
| T-08 | Twilight Channel | Red route to W-05 Western Shoals | Final leg home or loop back toward storm lane. |
Equipped Gear Essentials
- A sturdy boat with full sails for reliable speed and maneuverability.
- A shield for defense or shielded shelter during rough seas.
- A spare crafting bench for on-the-fly repairs or gear upgrades.
- A stack of planks for quick fixes or makeshift bridges.
- A few ladders for boarding or landings in rocky coves.
- A reliable compass to reorient when fog or rain obscures landmarks.
Waypoint Markers
Place banners at Harbor of Winds (green), Coral Crest Island (blue), Blue Needle Archipelago (cyan), and Storm Spire (red) to quickly reorient during travel.
Weather Strategy
- Prefer fair-weather windows to keep hops short and predictable.
- If storms form, switch to shorter hops between closer isles to reduce risk.
- Always keep an emergency supply of air when near deep-water zones—kelp stockpiles or potions help you breathe easy in a pinch.
Loot Inventory Discipline
Maintain a dedicated loot chest aboard the boat or at the nearest island to prevent items from being dropped or lost at sea.
Landmarks and Loot: What to Find and Where
Loot runs have a geography, and right now, these eight landmarks are trending as the season’s hottest drops. From serene hubs to perilous spires, each site offers a signature haul that players showcase in viral clips and thrill-filled streams. Here’s the quick guide to where to go, what you’ll likely find, and how each loot stack feeds into early-game or mid-run fantasies.
| Landmark | Coordinates | Notable Loot |
|---|---|---|
| Grand Reef Port | (0, 0) | 2–5 iron ingots, 1–3 gold ingots, 1 emerald, Small map fragment, Surface chests: occasional fishing rods and leather |
| Harbor of Winds | (256, -512) | Rope, String, Leather, Bread, Map fragment, Boat repair kits in crates near docks |
| Coral Crest Island | (512, -896) | 2–6 iron ingots, 1–3 gold ingots, 1–2 emeralds, Enchanted book in a treasure chest, Seaweed-based items in supply chests |
| Sunken Ring | (256, -256) | Potential trident enchantment loot, Chainmail leggings, Rare treasure map fragment |
| Blue Needle Archipelago | (1024, -1024) | Nautilus shells, Sponge blocks, Occasional limited-edition treasure maps, Underwater wind currents may reveal untapped chests |
| Storm Spire | (2048, -1400) | TNT, Flint and steel, Fire charges, Decorative banners, Higher risk of hostile mobs near the apex |
| Emerald Atoll Terminal | (1536, -256) | Emeralds, Iron ingots, Maps, Lanterns, Surface chests often contain rare components for early-game gear |
| Sea Gate Reef | (768, -1280) | Dense cluster of chests along reef walls, Occasional diamonds, Enchanted books (moderate frequency) |
Survival Tactics: Living on the Great Sea
The Great Sea presents unique survival challenges. Understanding these pros and cons can help you better prepare:
Pros:
- Abundant Loot: Opportunities on-route and at landmarks increase progression speed.
- Clear Navigation: Landmark networks and route guidance reduce the risk of getting lost and foster skill growth.
- Optimized Resources: Structured loot tables and inventory planning help players optimize resource gathering and gear upgrades.
Cons:
- Weather Hazards: Storms and wind changes require flexible choices and backup plans.
- Open-Water Risks: Increased risk of drowning or item loss necessitates maintaining air supplies and repair materials.
- Navigation Errors: Damaged markers or maps can lead to disorientation; double-checking is essential.
- Combat Risk: Sea mobs and hostile guardians near ruins require adequate preparation.
Great Sea Exploration vs. Standard Ocean Exploration
Here’s a quick comparison to highlight the differences:
| Aspect | Great Sea Exploration | Standard Ocean Exploration |
|---|---|---|
| Route Clarity | Great Sea provides 6 curated routes with exact coordinates and midpoints. | Standard Ocean offers general, unverified travel without fixed waypoints. |
| Loot Density | Great Sea offers 2–6 loot items per landmark and several guaranteed chest contents per island. | Standard Ocean yields loot more unpredictably with lower density and fewer guarantees. |
| Landmark Density | Great Sea features 8 named landmarks along major routes. | Standard Ocean has few fixed landmarks and relies on random spawns. |
| Survival Difficulty | Great Sea presents moderate difficulty due to weather and navigation demands. | Standard Ocean presents lower navigational risk but less structure for progression. |
| Map Utility | Great Sea uses color-coded routes, banners, and annotated maps for quick navigation. | Standard Ocean relies on base game maps with fewer annotations. |
| Gear and Preparation | Great Sea encourages carry-overs (boats, repair kits, banners, maps). | Standard Ocean often requires ad-hoc gear and less pre-planning. |
| Replay Value | Great Sea’s fixed routes and landmark placements create repeatable cycles and planning. | Standard Ocean offers more spontaneous exploration with less predictable outcomes. |
Leave a Reply